Looking for a way to nurture your child’s creativity and inner entrepreneur? Look no further than crafting! This engaging activity combines artistic expression with valuable business lessons, allowing them to make something fun and potentially earn some pocket money. It’s a win-win!
The best part? You don’t need a hefty budget to get started. With a little imagination and some readily available materials, you and your kids can create adorable crafts that will be a hit at local craft fairs, school markets, or even online marketplaces.
This blog post offers 25 budget-friendly craft ideas to jumpstart your creative journey, categorized for easy browsing:
Classic and Cute:
Decorated Bookmarks:
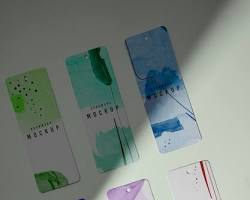
Cardboard, colorful craft paper, and some glitter are all you need for these personalized bookmarks. Let your child unleash their artistic side with drawings, stickers, or even pressed flowers.
Friendship Bracelets:
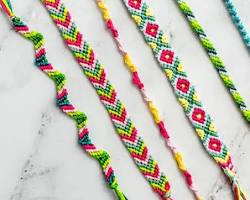
This age-old craft is timeless! Grab some embroidery floss in various colors and get braiding. If your child is new to the technique, there are plenty of easy friendship bracelet patterns available online.
Painted Rocks:
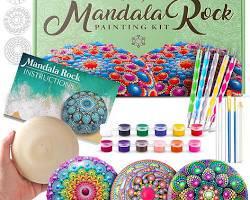
Transform ordinary rocks into miniature works of art! Let your child paint them with cute animals, inspirational quotes, or fun patterns. Add a clear coat of varnish for extra shine and durability.
DIY Coasters:
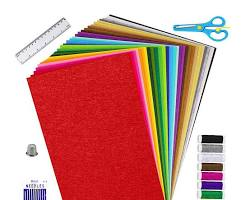
Felt sheets are a versatile and inexpensive material. Cut out circles of different sizes and decorate them with fabric paint, buttons, or sequins. These homemade coasters make thoughtful gifts or conversation starters.
Button Bonanza!
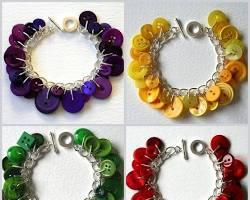
Buttons are a treasure trove for creative minds. Glue them onto headbands, decorate picture frames, or create adorable magnets. With a little hot glue, the possibilities are endless!
Jewelry with Flair:
Beaded Necklaces and Bracelets:
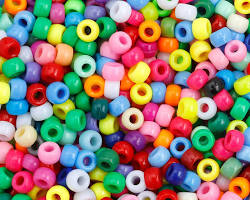
Pony beads are a classic and affordable option for creating colorful jewelry. Let your child experiment with different patterns and color combinations. They can even make friendship necklaces for their friends!
Yarn Tassel Keychains:
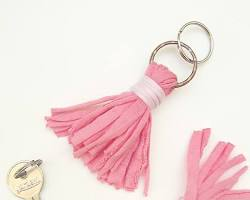
This is a quick and easy craft that’s perfect for beginners. Cut yarn into desired lengths, tie them together, and add a key ring attachment. Tassels can be embellished with beads or ribbons for an extra touch.
Fabric Scrap Earrings:
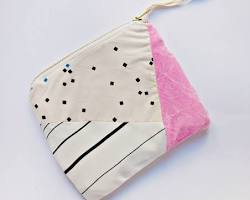
Don’t throw away leftover fabric scraps! Cut out fun shapes or geometric patterns and glue them onto earring hooks. Experiment with different textures and patterns for a unique look.
Pipe Cleaner Rings:

Pipe cleaners are a fun and bendable material for creating colorful rings. Twist them into different shapes, add beads, or even incorporate small toys for a playful touch.
Nature’s Jewelry:

Take a walk in the park and collect interesting pieces like acorns, seashells, or small pinecones. Drill a small hole (with adult supervision) and attach them to earring hooks or necklace chains for a unique touch of nature.
Home Decor Delights:
Painted Flower Pots:
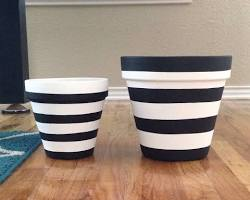
Plain terracotta pots get a new lease on life with a splash of paint and some creative designs. Let your child express themselves with polka dots, stripes, or even hand-painted flowers.
Decorative Wind Chimes:

Upcycle empty cans, bottle caps, or even seashells by stringing them together with yarn or fishing line. Add small bells for a tinkling sound in the breeze.
DIY Dreamcatchers:

Cardboard circles, yarn, and feathers come together to create beautiful dreamcatchers. Encourage your child to weave intricate patterns with the yarn and personalize them with different colored feathers.
Scented Sachets:

Fill small fabric bags with dried lavender, potpourri, or even cotton balls drizzled with essential oils. These DIY sachets add a touch of fragrance to drawers or closets.
Painted Mason Jars:
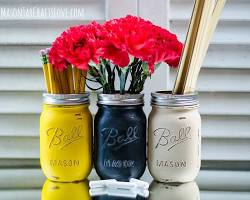
Mason jars are incredibly versatile. Paint them in vibrant colors and use them as pen holders, storage containers, or even mini vases for small flowers.
Stocking Stuffers and More:
Bath Bombs:
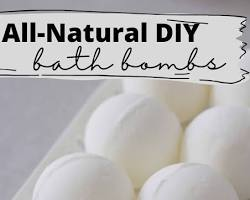
While adult supervision is required, making bath bombs is a fun and fizzy project. Combine baking soda, citric acid, Epsom salts, and essential oils for a relaxing bath experience.
Sugar Scrub Cubes:

Another spa-inspired craft, sugar scrub cubes are easy to make with sugar, coconut oil, and a touch of essential oil. Package them in small containers for a delightful self-care treat.
Dehydrated Fruit Leather:
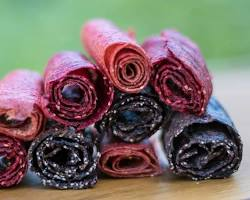
Slice up fruits like apples, bananas, or mangoes and dehydrate them in the oven for a healthy and delicious snack. These fruit leathers are perfect for lunchboxes or after-school treats.
Fun and Functional:
DIY Bookmarks with Tassels:

Combine the classic bookmark with a touch of whimsy! Create the base bookmark as described earlier (cardboard and craft paper) and add a colorful yarn tassel at the bottom.
Decorated Pencil Cases:
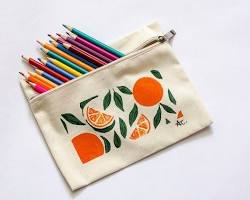
Plain canvas pencil cases become personalized treasures with fabric paint, markers, or even iron-on transfers. Let your child create designs that reflect their favorite characters or hobbies.
Phone Case Covers:
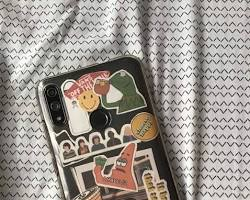
Clear phone cases are a blank canvas waiting to be transformed! Encourage your child to use stickers, glitter, or even small drawings to create unique phone case designs.
DIY Notebooks:
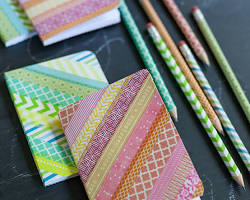
Upcycle old notebooks by decorating the covers with colorful paper, washi tape, or fabric scraps. They can even create custom bookmarks to be placed inside.
Pom-Pom Keychains:
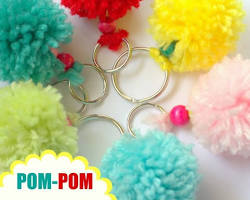
Yarn and a little cardboard create fluffy and fun pom-poms. Attach them to keychains for a cute and colorful accessory.
Tech Cable Organizers:

Braided yarn or colorful ribbons can be used to create stylish organizers for tech cables. This helps keep cords from getting tangled and adds a personal touch to tech accessories.
Seasonal Delights:
Hand-Painted Ornaments:
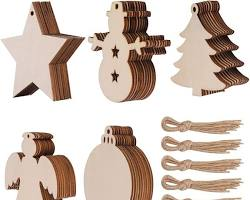
As the holidays approach, let your child create one-of-a-kind ornaments using wooden blanks or even clear plastic ornaments. They can paint festive designs or even personalize them with names or messages.
Bonus Tips for Mini-Entrepreneurs:
- Presentation is Key: Invest in some colorful cellophane bags, ribbons, or small boxes to present your child’s creations professionally. This adds value and makes them more appealing to potential buyers.
- Set Up a Shop: Encourage your child to set up a mini shop at home or participate in local craft fairs or school markets. This allows them to interact with customers and practice their selling skills.
- Price it Right: Consider the cost of materials and the time it takes to create each craft when setting prices. Striking a balance between making a profit and keeping it affordable is key.
- Get Creative with Marketing: Create eye-catching signs with photos of the crafts and highlight their unique features. Consider using social media platforms (with adult supervision) to promote your child’s creations online.
- Make it Fun! Remember, the most important part is for your child to enjoy the creative process and learn valuable entrepreneurial skills.
Taking it a Step Further:
As your child’s business flourishes, here are some additional tips to consider:
- Create a Brand Identity: A catchy name, logo, and tagline can help your child’s creations stand out.
- Expand the Product Line: Once they’ve mastered a few crafts, encourage them to experiment with new ideas.
- Invest in Quality Materials: As sales increase, consider investing in higher quality materials for a more professional look.
- Focus on Customer Service: Encourage your child to interact politely with customers and be open to feedback.
With a little planning, creativity, and these helpful tips, your child can turn their love for crafting into a fun and rewarding business venture. So grab your craft supplies, unleash your imagination, and get ready to create something special!
