Crafting with paper is a timeless activity for kids. It’s inexpensive, readily available, and sparks endless creativity. Take it a step further by turning paper into something useful: a paper wallet!
These adorable creations are perfect for storing pretend money, small treasures, or even trading cards.
This list offers 25 paper wallet ideas, ranging from super simple to more intricate designs. They cater to a variety of ages and skill levels, ensuring there’s a perfect project for every child.
Simple and Quick Wallets:
Classic Accordion Wallet:
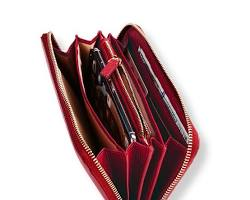
This wallet folds open like an accordion, revealing multiple compartments for pretend cash or small trinkets. Use construction paper of different colors to create a vibrant design.
Pocket Pals:
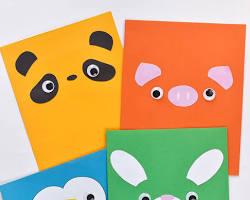
Cut out fun shapes from construction paper – animals, stars, hearts – and fold them in half to create small pockets for storing tiny treasures.
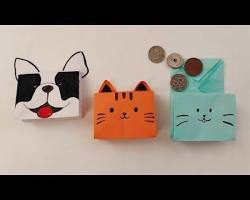
Easy Envelope Wallet:
This is a great first craft for younger children. Decorate a rectangular piece of paper, then fold the bottom third upwards and secure it with glue or tape.
Miniature Mailbox:
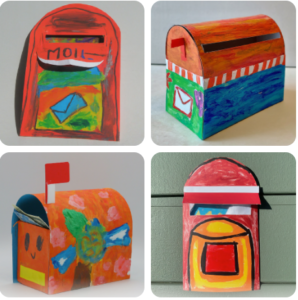
Transform an index card into a cute mailbox wallet. Decorate the outside, cut a small slit for “mail” (pretend money!), and glue a flap on top.
Wallets with a Twist:
Origami Surprise:
For the origami enthusiasts, try a simple origami wallet design. You can find kid-friendly tutorials online that fold into fun shapes like houses or animals.
Button Bonanza:
Attach colorful buttons to a decorated paper rectangle. Space them out to create little pockets for storing small items.
Braided Beauty:

Cut long strips of construction paper in different colors. Braid them together to create a sturdy and colorful wallet base.
Zipperrific!
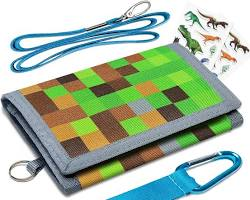
Find a kid-safe zipper and sew it onto a decorated piece of fabric or felt. Glue this fabric “pocket” onto a sturdy cardstock base to create a zippered wallet.
Wallets for the Fashionable:
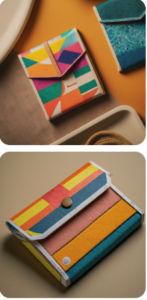
Fancy Fold-Over:

Cut a large rectangle of decorative paper or fabric. Fold the top third downwards, then fold the bottom third upwards to create a flap closure. Secure with ribbon or a brad.
Glittery Goodness:

Cover cardstock with glitter glue or sparkly contact paper. Decorate with stickers or stencils for an extra touch of glam.
Pom-Pom Power:
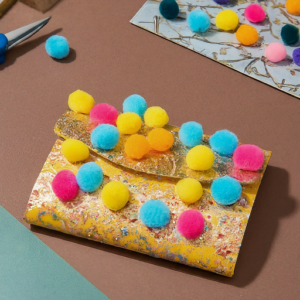
Create a fluffy wallet by gluing colorful pom-poms onto a decorated cardstock base.
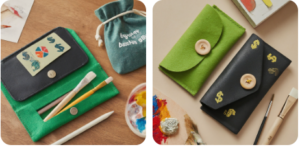
Button and Ribbon Charm:
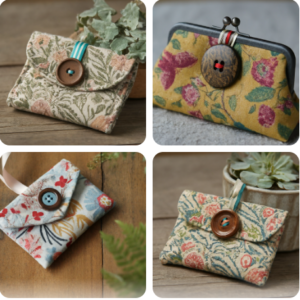
Sew a large button onto a decorated fabric piece. Add a ribbon loop that slips over the button to secure the wallet closed.
Themed Wallets:
Pirate’s Pouch:
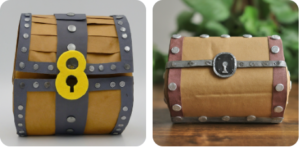
Use brown paper bags and craft foam to create a treasure chest-shaped wallet.
Rainbow Unicorn:
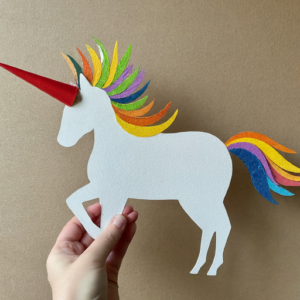
Cut out a unicorn shape from white cardstock. Decorate with glitter, colorful paper, and a horn made from rolled-up paper.
Under the Sea Fun:
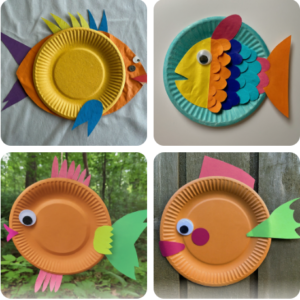
Transform a paper plate into a vibrant fish with construction paper fins and scales. Add a small pocket in the “mouth” of the fish for storing treasures.
Space Explorer’s Wallet:
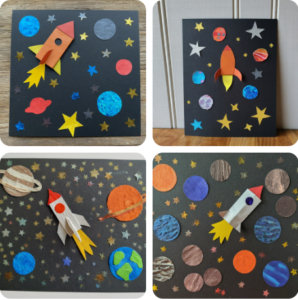
Decorate a black cardstock base with stars, planets, and a rocket made from construction paper scraps.
Wallets with Special Features:
Snap and Go:
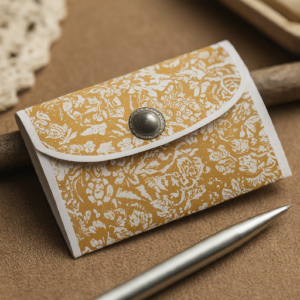
Use snap fasteners to create a secure closure for your paper wallet.
Coin Pouch:
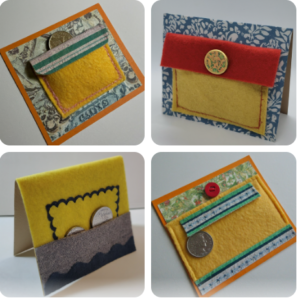
Add a small, secure pocket made from fabric or felt to a decorated cardstock base. This creates a dedicated space for storing pretend coins.
ID Holder:
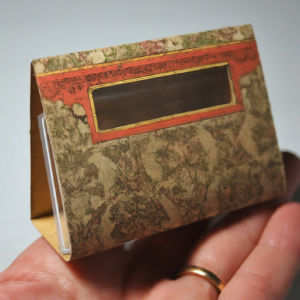
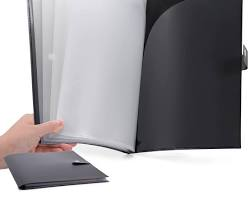
Cut a small slot on the front of the wallet and add a clear plastic pocket (like a trading card sleeve) behind it. This allows kids to display a picture or “ID” for their pretend play.
Photo Finish:

Decorate a wallet and glue a small photo frame (made from popsicle sticks or construction paper) on the front. Kids can insert a picture of themselves or their favorite character.
Wallets for Grown-Up Play:
Coupon Keeper:

Create a small wallet specifically for storing real coupons. Decorate it with a grocery theme or with pictures of favorite stores.
Gift Card Holder:
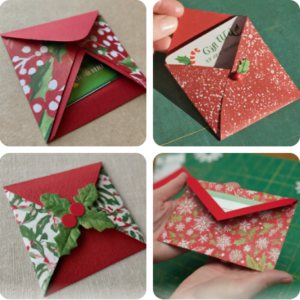
Fold a decorated piece of cardstock into a small envelope to create a festive gift card holder.
Headphone Haven:
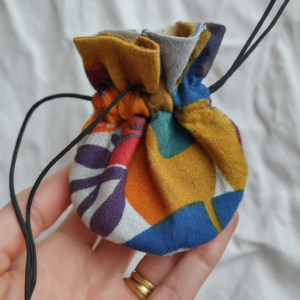
Make a small pouch from fabric or felt to store headphones neatly and safely.
Taking it Further:
Wallet Wonderland:
Instead of a single wallet, create a whole set! Design wallets for different purposes – one for pretend money, another for trading cards, and maybe even one for storing small art supplies.
Upcycled Awesomeness:
Repurpose old materials like cereal boxes, juice cartons, or fabric scraps to create unique and eco-friendly wallets.
Tips for Success:
- Adult Supervision: For younger children, adult supervision is recommended, especially when using scissors, glue guns, or sewing needles.
- Get Creative with Materials: Don’t be limited to paper! Use fabric scraps, felt, buttons, ribbons, and other embellishments to personalize each wallet.
- Practice Makes Perfect: Start with simpler designs and gradually progress to more intricate ones as your child’s skills develop.
- Make it a Party Activity: Organize a paper wallet crafting party for a group of kids. They can share ideas, help each other, and create a collection of unique wallets.
The Benefits of Paper Wallet Crafts for Kids:
Crafting with paper offers numerous benefits for children. It helps develop:
- Fine motor skills: Cutting, folding, gluing, and decorating all require precise hand movements.
- Creativity and imagination: Kids can personalize their wallets with their own designs and themes.
- Problem-solving skills: Following instructions and figuring out how to assemble the wallet pieces encourages problem-solving.
- Hand-eye coordination: Measuring, cutting, and placing embellishments require good hand-eye coordination.
- Self-expression: The crafting process allows kids to express themselves through their choice of materials and designs.
Conclusion:
Paper wallet crafts are a fun and engaging way for kids to unleash their creativity and create something useful. With so many design options, there’s a perfect paper wallet project for every child. So grab some paper, scissors, and glue, and get ready to craft some awesome wallets!