Suncatchers are a delightful way to bring color and cheer into your home. They’re also a fantastic activity for kids, allowing them to explore their creativity and enjoy the satisfaction of seeing their artwork displayed.
This list offers 25 suncatcher ideas, catering to a variety of ages and skill levels. From classic tissue paper mosaics to nature finds and paint-pouring techniques, there’s a suncatcher project waiting to be discovered!
Safety Note: Adult supervision is recommended for younger children, especially when using scissors or craft knives.
Getting Started:
Before diving in, there are a few essentials you’ll likely need for most suncatchers:
- Clear contact paper: This acts as the base for your suncatcher design.
- Scissors: Opt for kid-safe scissors for younger children.
- Colorful materials: Tissue paper, construction paper, felt, and cellophane are popular choices.
- Craft glue: A glue stick or white school glue works well for most projects.
- Optional embellishments: Sequins, beads, glitter, and buttons can add sparkle and texture.
- Ribbon or yarn: For hanging your finished suncatcher.
- Hole punch (optional): For creating a hole for hanging.
Now, let the sunshine crafting begin!
Easy Breezy Suncatchers (Ages 2-4):
Tissue Paper Magic:
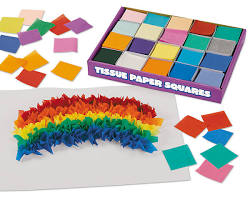
Cut colorful tissue paper into squares and let your little one stick them onto contact paper. This is a great introduction to colors, shapes, and textures.
Confetti Sunburst:
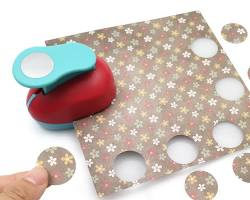
Punch out confetti shapes from construction paper. Help your child arrange them on contact paper and secure them with glue.
Sensory Suncatcher:
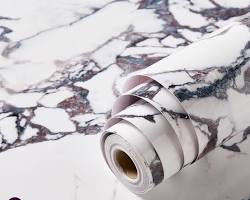
Explore textures by adding felt shapes, crinkly paper, or even fabric scraps to contact paper.
Let’s Get Crafty (Ages 5-7):
Striped Sun:
Cut strips of different colored tissue paper and arrange them vertically or horizontally on contact paper.
Geometric Shapes:
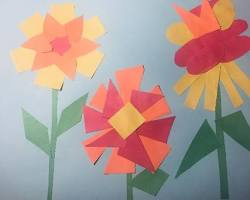
Cut out geometric shapes from construction paper or colorful cardstock. Let your child arrange them into a design and glue them onto contact paper.
Rainbow Delight:
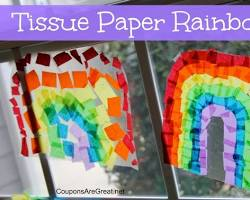
Cut out rainbow-colored strips of tissue paper and arrange them in a curved pattern to create a rainbow on contact paper.
Stained Glass Suncatcher:
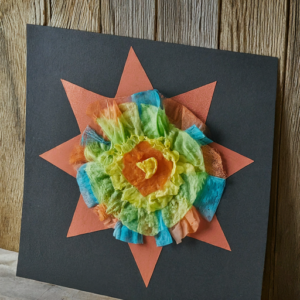
Use black construction paper to cut out simple shapes like stars, hearts, or flowers. Layer colored tissue paper behind the shapes and secure them with glue to the black outline.
Taking it Up a Notch (Ages 8-12):
Melty Bead Masterpiece:
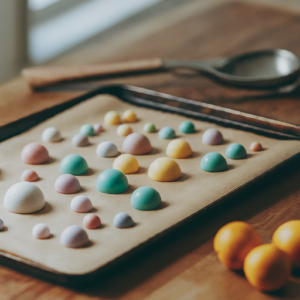
Arrange melty beads on a baking sheet lined with parchment paper according to your desired design (adult supervision required when ironing). Once complete, follow the melty bead package instructions for ironing and fusing the beads together. Let it cool completely, then adhere it between two pieces of contact paper for a sturdy suncatcher.
Nature’s Canvas:
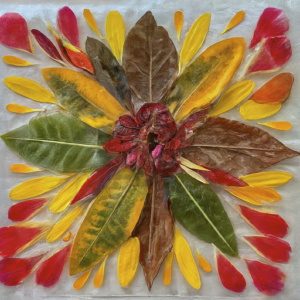
Take a walk and collect colorful leaves and petals. Press them flat and arrange them on contact paper to create a natural collage.
Coffee Filter Art:
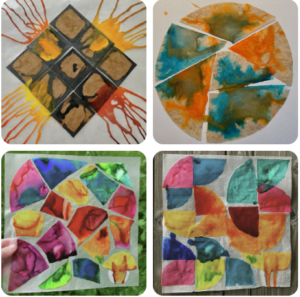
Dilute some liquid watercolors with water and let your child drip them onto coffee filters. Once dry, cut out shapes from the colorful coffee filters and adhere them to contact paper.
Marble Mayhem:
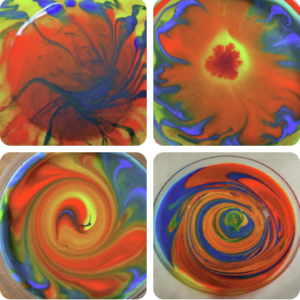
Squeeze drops of different colored paints onto a shallow dish filled with water. Use a toothpick to swirl the colors, then carefully lay a piece of contact paper on the water’s surface, picking up the paint design. Let it dry completely before peeling the contact paper off and trimming to size.
Creative Explorations (Ages 10+):
Yarn Painting Suncatcher:
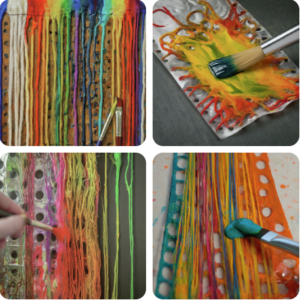
Poke small holes around the edge of your contact paper. Thread yarn through the holes, creating a web-like design on the back. Tie the ends of the yarn together securely. Now, use a paintbrush to dab different colored paints onto the yarn, letting them bleed and create a beautiful design.
Butterfly Bonanza:
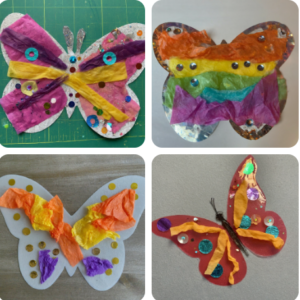
Cut out butterfly shapes from contact paper. Decorate them with colorful tissue paper pieces, sequins, or paint markers.
Under the Sea:
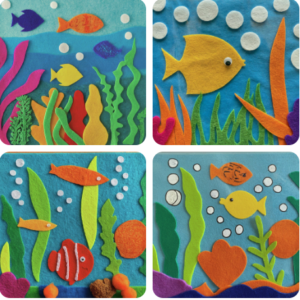
Craft a vibrant underwater scene! Cut out fish, seaweed, and bubbles from colored paper and felt. Arrange them on contact paper and add details with markers or paint pens.
Fingerprint Fun:

Dip your child’s finger in paint and let them stamp colorful circles onto contact paper. Once dry, turn the circles into ladybugs, flowers, or other creative shapes.
Let’s Get Technical (Ages 10+):
Solar System Spectacular:
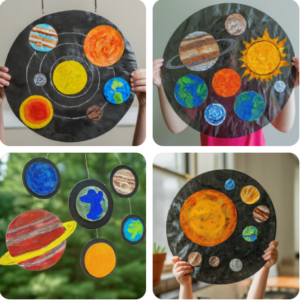
Use black construction paper to cut out planet circles. Decorate them with paint, markers, and glitter to represent the planets. Adhere them to a larger piece of contact paper to create a solar system suncatcher.
Nature’s Symmetry:
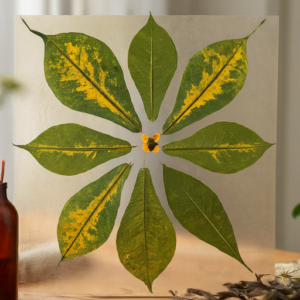
Collect leaves, butterflies, or flowers and press them flat. Use them as stencils by placing them on contact paper and tracing around them. Cut out the shapes and arrange them into a symmetrical design.
Light Play Suncatchers (Ages 8+):
Crystal Clear Suncatcher:

Instead of using colored tissue paper, try clear contact paper. Decorate it with black sharpie designs or geometric shapes. The black will show up vibrantly when light shines through.
Prism Power:
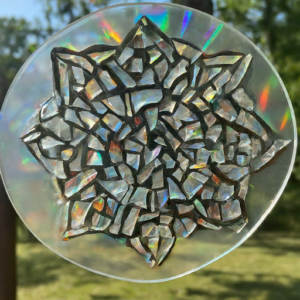
Find an old CD or DVD and carefully cut it into small pieces. Adhere the pieces to contact paper, creating a mesmerizing mosaic effect when light hits the suncatcher.
Think Outside the Box Suncatchers (All Ages):
Cookie Cutter Creations:
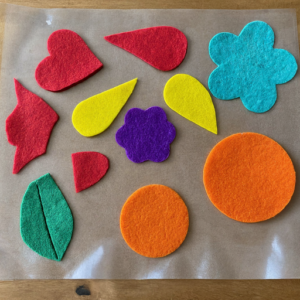
Use cookie cutters in various shapes to cut out shapes from colorful felt or construction paper. Decorate them further and adhere them to contact paper.
Washi Tape Wonder:
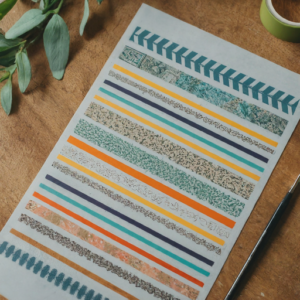
Washi tape comes in a variety of colors and patterns. Use it to create geometric designs, stripes, or even mandalas on contact paper.
Popsicle Stick Stained Glass:
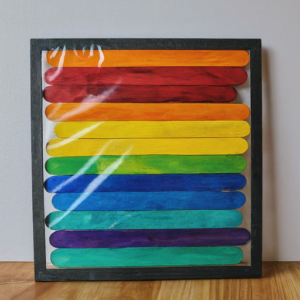
Paint popsicle sticks in vibrant colors. Once dry, arrange them into a square or rectangle and glue them together to form a frame. Add clear contact paper to the back to create a stained glass effect.
Going Solo Suncatchers (Ages 10+):
Pour Your Heart Out (Fluid Acrylic Painting):
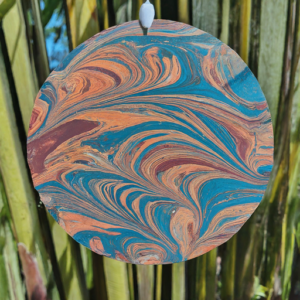
This technique is for older children and requires adult supervision. On a separate surface (not the contact paper that will be your suncatcher), carefully pour small puddles of different colored fluid acrylic paints close together. Tilt the surface back and forth to blend the colors slightly. Carefully lay your clear contact paper on top of the paint, pressing gently to ensure even contact. Peel the contact paper away slowly, revealing a beautiful marbled design. Let it dry completely before hanging.
Bonus Suncatcher Challenge:
Design Your Dreamcatcher:
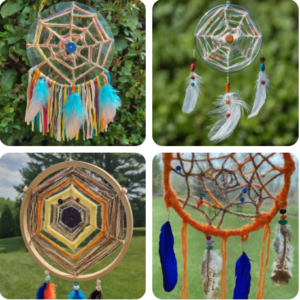
Combine the dreamcatcher concept with a suncatcher! Use yarn to create a web design on a large piece of contact paper. Decorate the web with colorful beads, feathers, and buttons. Let your imagination soar!
Displaying Your Suncatchers:
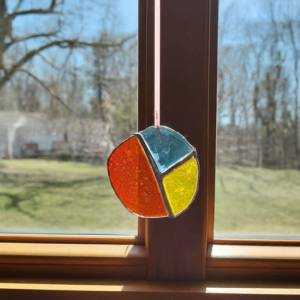
Once your suncatchers are complete, punch a hole (if desired) at the top and thread a piece of ribbon or yarn through it for hanging. Choose a sunny spot in your home to display your child’s masterpiece and watch the vibrant colors come alive with the sunlight.
Suncatcher Fun for All!
Suncatchers are a delightful way to spend quality time with your kids, fostering creativity and a sense of accomplishment. With this diverse list of ideas, there’s a suncatcher project waiting to be created for every age group and artistic interest. So gather your materials, unleash your creativity, and let the sunshine crafting begin!

